


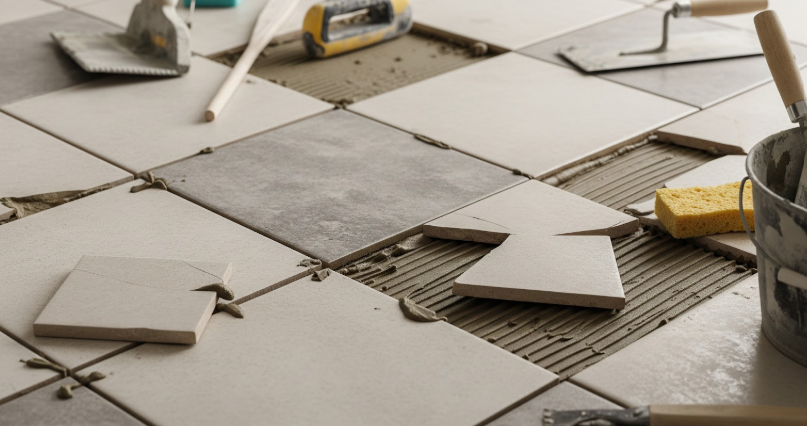
Why Tile Installation Mistakes Are So Common
Tile is one of the most durable and beautiful flooring choices for Sheboygan homes, but the installation process can be trickier than it looks. A small misstep — the wrong spacing, uneven setting, or choosing the wrong tile for the space — can lead to long-term issues that are costly and frustrating to fix. Many homeowners browsing Sheboygan Flooring and Furniture know tile is built to last, but not everyone realizes how much proper installation affects the final result.
Whether you’re considering a DIY tile project or simply want to understand what can go wrong, these five common mistakes will help you achieve a cleaner, longer-lasting finish. Avoiding them will save time, reduce headaches, and ensure your tile looks beautiful for years.
Mistake 1: Not Preparing the Subfloor Properly
Why Subfloor Prep Matters
Tile needs a solid, level foundation. If the subfloor is uneven, weak, or improperly supported, the tile can crack or shift. This is one of the most common — and costly — installation errors homeowners make.
What Homeowners Often Miss
Failing to check for dips or high spots
Skipping moisture checks in basements and bathrooms
Installing over old flooring that isn’t stable
Forgetting proper underlayment or backer board
These issues can compromise even the highest-quality tile.
How to Avoid This Mistake
Before installation:
Inspect the subfloor for movement or sagging.
Level out surface imperfections.
Add cement board or a proper underlayment.
Address moisture concerns before laying tile.
A secure, stable foundation ensures your tile flooring stays flawless for years.
Mistake 2: Incorrect Layout and Poor Planning
Why Planning Ahead Makes a Huge Difference
Tile layout is more than just placing pieces in a straight line. Without a clear game plan, tiles can look uneven or mismatched, and visual flow becomes disrupted.
Where Homeowners Go Wrong
Starting in a corner instead of the middle of the room
Failing to account for cut pieces around walls
Ignoring focal points like doorways or fireplaces
Forgetting to dry-lay tiles to preview the layout
Tile looks best when placed with intention, not guesswork.
The Right Approach
Take time to map out your room. Measure carefully, mark the center point, and ensure the tile pattern enhances — rather than distracts from — the overall design. A thoughtful layout helps every tile fall into place cleanly.
Mistake 3: Using the Wrong Adhesive or Mixing It Incorrectly
Why Adhesive Quality Matters
The mortar or adhesive you choose affects bond strength, flexibility, and long-term durability. If it’s mixed incorrectly or not suited for the tile type, tiles may loosen or crack over time.
Common Missteps
Using standard adhesive in high-moisture areas
Applying too little mortar under large-format tiles
Mixing thinset too thick or too watery
Allowing adhesive to dry before placing the tile
Even minor adhesive mistakes can lead to major issues later.
A Better Method
Choose an adhesive that fits both the tile material and the room’s conditions. For example, porcelain tile often needs a specific type of thinset. Take your time mixing for proper consistency and apply adhesive evenly.
To explore styles that pair well with the right installation materials, many homeowners review tile flooring collections during their planning phase.
Mistake 4: Incorrect Grout Application and Sealing
Why Grout Is More Important Than It Looks
Grout affects both the look and the performance of tile. Applied poorly, it can lead to gaps, cracks, discoloration, and moisture problems.
Frequent Homeowner Errors
Not packing grout deep enough between tiles
Choosing the wrong grout color
Failing to clean excess grout quickly
Forgetting to seal grout in moisture-prone areas
Grout lines play a big role in tile longevity and appearance.
Better Grout Practices
Apply grout evenly, clean up haze promptly, and choose a color that complements your tile and room style. For kitchens, bathrooms, and laundry spaces, sealing the grout adds an essential layer of protection.
Mistake 5: Skipping Expansion Gaps
Why Expansion Gaps Are Essential
Tile may not expand like wood, but the surface beneath it can shift with humidity and temperature changes — especially in Wisconsin’s climate. Without expansion gaps along walls and fixed structures, tiles can press against each other and eventually crack.
What Homeowners Forget
Expansion gaps:
Prevent pressure buildup
Allow subtle seasonal movement
Keep tile from lifting or tenting
Even a small gap hidden under trim can make a major difference.
Simple Fix
Always leave a small perimeter gap that will be covered later by baseboards or molding. This tiny detail helps protect your entire installation from seasonal movement.
If any part of your tile project feels overwhelming, you can always we are here to help with expert advice or professional installation options.
Create a Tile Installation That Lasts
Tile flooring is one of the most beautiful and long-lasting options for Sheboygan homes — but the installation process determines how well it holds up. By avoiding these common mistakes, you can enjoy a smooth, polished finish that adds value and character to your home.
At Sheboygan Flooring and Furniture, our team can help you choose the right tile, explore layout ideas, and connect you with installation support. Whether you’re tackling a DIY project or planning a full remodel, the right approach makes all the difference.


