


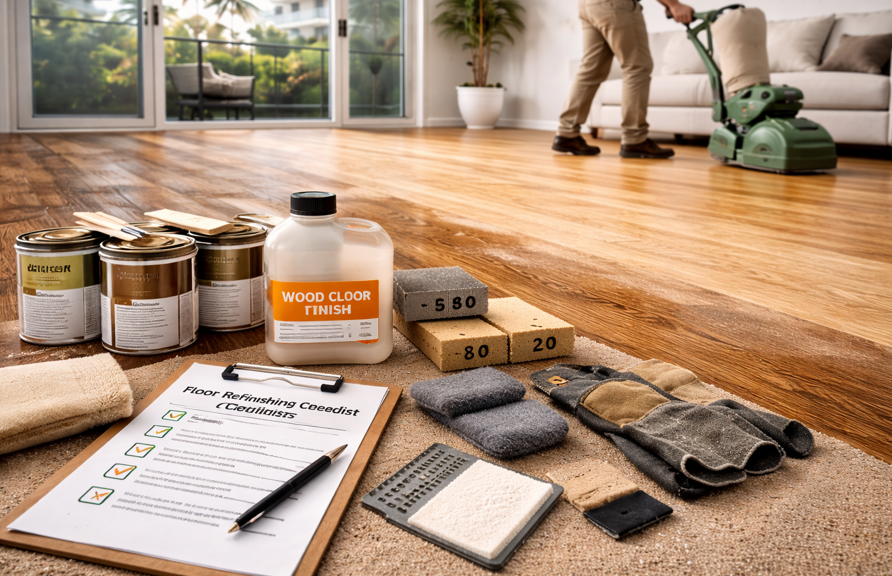
Hardwood floors have a way of transforming a home. Over time, though, even the most beautiful floors can begin to show signs of wear—small scratches, dullness, and areas that no longer reflect the same warmth they once did.
In Sheboygan homes, seasonal changes can speed up this process. Snow, salt, and everyday foot traffic all contribute to gradual wear. The good news is that refinishing hardwood floors can restore their original beauty and extend their lifespan.
At Sheboygan Flooring and Furniture, homeowners often explore refinishing as a way to refresh their space without replacing their floors entirely. With the right approach, refinishing can bring your floors back to life while enhancing the overall feel of your home.
This guide walks through the refinishing process step by step, helping you understand what’s involved and how to achieve a smooth, professional-looking result.
What to Know Before You Start Refinishing
Before beginning the refinishing process, it’s important to understand the condition of your hardwood floors. Not all floors require the same level of work.
Look for signs such as:
Surface scratches
Faded or uneven finish
Minor dents or wear patterns
If the damage is mostly on the surface, refinishing is usually a great option. However, deeper structural issues may require additional work.
You’ll also want to consider the type of hardwood flooring you have. Solid hardwood can typically be refinished multiple times, while engineered hardwood may have limitations depending on its thickness.
Understanding these factors helps you approach the project with clarity and confidence.
Tools and Materials You’ll Need
Having the right tools and materials ready makes the process more efficient and helps you achieve better results.
Common tools include:
Floor sander
Edge sander
Sandpaper (various grits)
Vacuum or dust collection system
Applicators for stain and finish
Materials you’ll need:
Wood stain (if changing colour)
Protective finish (polyurethane or similar)
Cleaning supplies
If you're working with existing hardwood flooring, choosing high-quality finishes ensures long-lasting results and enhances the natural beauty of the wood.
Preparing everything in advance keeps the project running smoothly from start to finish.
Step 1: Prepare the Room
Start by clearing the room completely. Remove all furniture, rugs, and décor to create an open workspace.
Next, clean the floor thoroughly to remove dust and debris. This ensures the sanding process is effective and even.
It’s also helpful to seal off adjacent rooms to minimise dust spreading throughout the house.
Taking the time to prepare properly sets the foundation for a clean and efficient refinishing process.
Step 2: Sand the Floor
Sanding is one of the most important steps in refinishing hardwood floors. It removes the old finish and smooths out imperfections.
Begin with a coarse grit sandpaper to strip away the existing finish. Then gradually move to finer grits to create a smooth surface.
Work in consistent, even passes and follow the grain of the wood. Pay attention to edges and corners, using an edge sander where needed.
Proper sanding creates a clean surface that allows the new finish to adhere evenly.
Step 3: Clean the Surface Thoroughly
After sanding, dust will be present across the entire floor. Removing it completely is essential before applying any finish.
Use a vacuum to clean the surface, followed by a damp cloth or tack cloth to pick up any remaining particles.
A clean surface ensures that the final finish looks smooth and free from imperfections.
Step 4: Apply Stain (Optional)
If you want to change or enhance the colour of your hardwood floors, this is the stage to apply stain.
Apply the stain evenly using a cloth or applicator, following the direction of the wood grain. Allow it to absorb and wipe away any excess.
Let the stain dry completely before moving on to the next step.
This step allows you to customise the look of your floors and align them with your home’s style.
Step 5: Apply the Finish
The finish protects your hardwood floors and gives them their final appearance.
Apply a protective coating evenly across the surface, using a brush or roller designed for floor finishes.
Allow the first coat to dry fully before lightly sanding and applying additional coats as needed.
Multiple coats provide better durability and enhance the overall look of the floor.
Step 6: Allow Proper Drying Time
Drying time is essential for achieving a durable, long-lasting finish.
Avoid walking on the floor until the finish has fully cured. Follow the product guidelines for drying times between coats and final use.
Patience during this stage ensures the best possible results.
Common Mistakes to Avoid During Refinishing
Even a well-planned project can run into challenges if certain details are overlooked.
Skipping Sanding Steps
Rushing through sanding can leave uneven surfaces.
Not Cleaning Properly
Dust left behind can affect the finish.
Applying Uneven Coats
This can lead to streaks or inconsistent appearance.
Rushing Drying Time
Allowing proper time between coats is key to durability.
Avoiding these mistakes helps ensure a smooth and professional result.
When to Consider Professional Refinishing
While refinishing can be a rewarding project, there are situations where professional help may be the better option.
This includes:
Large or complex spaces
Floors with significant wear
Projects requiring specialised equipment
Working with experienced professionals ensures precision and long-term performance. It also simplifies the process, allowing you to focus on the final result rather than the technical details.
Restore the Beauty of Your Hardwood Floors
Refinishing hardwood floors is a powerful way to refresh your home without replacing your flooring. It brings back the natural beauty of the wood and extends its lifespan.
With the right preparation and approach, you can achieve a result that feels clean, polished, and inviting.
If you’re considering refinishing or want expert advice tailored to your home, feel free to reach out to us. A knowledgeable team can help you explore the best options and guide you every step of the way.


